Showing posts with label project. Show all posts

Monday, August 19, 2013

Quiet Book Car Edition

One after noon as I was scrolling through Pintrest, I came across one of the cutest ideas ever for keeping little boys' hands busy while sitting still and quiet (for us this would be mostly during church).  It is a little quiet book with matchbox cars and a little road on which to drive them.  With six boys in the house, we do cars!  Here is a picture of the open book.


So, I went to Joann's with my 50% off coupon and teacher discount card to see what kinds of cute automotive fabrics I could find. 

I decided to go with a red truck fabric and a gray background that I felt complimented it well.  Now, I am not a perfectionist when it comes to sewing projects and with most types of projects I like to use no pattern or make my own.  This project was no exception.  I cut two rectangular pieces of gray fabric that were the same size to use for the background.

And, with my grandmother's machine in front of me and my daughter sewing away on her little machine, I began to stitch this gift of love for my little boys.  


I cut the red truck fabric the same width as the gray fabric.  I folded it in half (vertically), pinned it to the bottom of one of the gray pieces, and stitched around the sides and bottom making sure to leave the top open.


Next I stitched vertical likes about two inches apart ( I would do 2.5-3 inches next time) to form pockets for the cars.  I decided to stitch the road onto the gray instead of adding a seperate piece of fabric here.  I did a loose zigzag stitch for each side of the road.  Using pins, I marked off one inch segments and made a tight yellow zigzag for the dashes down the center ever other inch. 


 I cut out the shape of a car, added two black buttons for wheels and stitched them to the other piece of gray fabric so that it would be on the front cover.  Then I placed the two pieces of gray fabric right sides together, pinned in the red piping, and closure strap.  Next, I stitched around leaving a small space open for turning (just like making a pillow).  I decided to add a loose top stitch in red for a finishing touch.  Now, I just need to add some Velcro to the strap to keep it closed.


Here is a picture with the cars in the pockets.  This folds up nicely to carry in my diaper bag for a great quiet activity that is always with me:)


 I'm really happy with the way this turned out.  I have the supplies to make another just like it but am thinking I may add more pages with other quiet activities like buttons, zippers, etc..  Any suggestions for the other pages of my next quiet book?


Sunday, January 29, 2012

In LOVE with reading


February is "In LOVE with Reading" month in our home...and school.

Quite a few years ago, a homeschool mom shared with me how she would combine reading with their Valentine's Day celebration. I love to celebrate and I love to read so...what could be better than celebrating reading?  I took her idea, re-arranged it, added a few things, and made it our own tradition.
Here is how we celebrate reading in February.


Prep:  I paint a tree trunk on a poster board and cut out lots of little hearts.


I am obviously no artist, but my kids don't know that...yet...haha!

The Plan: For every book that a child reads, they get to write the name of that book on a heart and tape it to the tree.  We set a goal of reading for the month and then choose a reward.  I like to make it a combined reading goal to cultivate unity:) This year I am making the hearts go along with our color coding (blue, green, pink, yellow, orange, and red).  This way, the kids can easily find the books that they have added to our "tree".  I also let the older kids read a book to the little ones and put up a heart for them.  The idea is to read as much as possible for the whole month.  I'm not so concerned with the reading level...just want them to fall in love with reading!

Here is a picture of our reading tree in progress.  We have a goal of 200 books for the month of February.  This has truly inspired them to read...even my one who struggles.
This is the tree after the first week of the month.

Here it is after the second week of the month.


On Valentine's Day:  I read to them a short history lesson on St. Valentine and we discuss his life.  Then we have a day off of "regular" school and they get to read all morning.  They choose what book and where they want to read.  It's fun to see all the places that they come up with.  

Here are a few of their favorite reading spots that I found as I looked back through some of my pictures.

On the trampoline out back...

Under Peter's desk...

On the couch...

In bed...just before falling asleep...
In the hallway...
On the couch with Daddy...
On the couch with the baby...

In the wagon...
 And so many other places.


Later that day, I take the kids to Bookmans or Half-Priced-Books and they each get to pick out a new book.  Some years we will cook a special dinner together and decorate...some years we will go to a favorite restaurant.  During our family time just before bed, we will read 1 Corinthians 13 and discuss what love truly means.

Even after February 14th, we continue to read, read, read...until the end of the month.  The kids always reach their goal.  Maybe that says more about the prize at the end than it does their love of reading...haha.  But the goals are to cultivate a love for reading, give them a feeling of success, and foster family unity not to crack the whip and make them read. 

This year the kids choose a day trip to visit some friends that we rarely get to see.  (I sure hope they make it this year!) 


What things do you do to cultivate a love for reading in your home? 


Where are your kid's favorite reading spots?


Monday, January 23, 2012

The Tabernacle...Hands on Bible

We recently did a project (part of our curriculum) that I just loved!  We are studying the Israelites during the time of Moses and Joshua.  So, the kids were able to create their own "Tabernacle".  We used some old cardboard and some card-stock sheets that came with our curriculum to make the entire Tabernacle... mostly to scale.


 The Ark of the Covenant even had little toothpick poles to move it with and small gray squares inside for the Ten Commandments.

After this project, some of my kids used lego people as Israelites and set up a scene.  I refrained from posting pics as not everyone can appreciate the "Most Holy Place" with all of the naughty and now dead Israelite lego people lying all around The Ark of the Covenant...haha.  Oh the joys of five boys in the house! 

I think that I learned as much as they did, though...yet another one of my favorite things about homeschooling!  They know the parts of the tabernacle and symbolic meanings of the items and will not soon forget...especially since they now have their tabernacles in their rooms to play with.


We did eventually put up the curtain around the courtyard and removable curtain over the Holy Place so they could have access to it for roll playing. 

The whole time we were doing this project I kept singing Petra's "Take Me Into the Holy of Holies".  I am not a fan of most of their music but this one song stands out to me.  Here are the lyrics if you are too young...or too old to have enjoyed it..haha.


Take me past the outer courts
Into the Holy Place
Past the brazen altar
Lord I want to see your face
Pass me by the crowds of people
And the Priests who sing your praise
I hunger and thirst for your righteousness
But it's only found in one place

[Chorus:]
Take me into the holy of holies
Take me in by the blood of the lamb
Take me into the holy of holies
Take the coal, touch my lips, here I am

Tuesday, January 17, 2012

From fresh to frozen

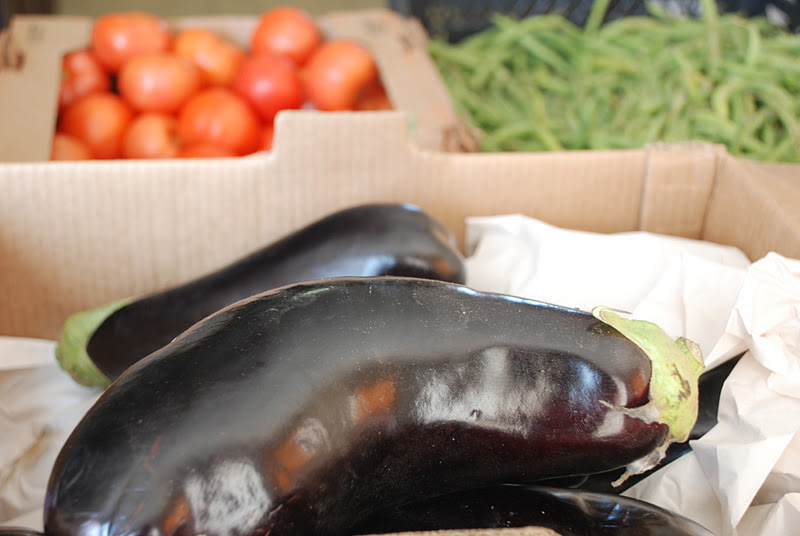
Today I picked up tons of fresh veggies from local farmers hoping to make baby food and soups to stash away in the freezer.  I loaded up our little Prius with all the veggies that would fit and brought them home.  Now the work begins.  Here is a picture of just a few of the fresh veggies that we brought home.


I knew that I should act quick to use these veggies before loosing them so I got to work right away.  Being Saturday, Peter was home and it was much easier to take on a project like this.  This wouldn't happen on a school day.

So, I placed the squash in the oven to bake.


While baking, I washed, cut, and steamed some of the green beans.  


I pureed these two veggies into baby food.  Next, I put the purees into containers and in the freezer.  I have about two months of pureed veggies in my freezer right now...huge savings over buying jars of baby food...and I love saving!

Because I make my own baby food, I can also sneak some of the puree into the kid's meals.  This butternut squash is perfect to sneak into mac and cheese!  I have been doing it off and on for four years now and the kids have never caught on...whaahaha:)

Here is a picture of the squash ready for the freezer.
 
I decided to do something with the tomatoes other than baby food.  I usually don't feed my babies tomatoes until after 12 months.  

So, I made a double batch of our favorite tomato soup and froze it.  You can see how we make tomato soup in a previous post here.  Now I have two meals ready to go in the freezer:)

Three of my younger kids kept grabbing tomatoes and eating them whole...just like an apple.  I love that they eat veggies so well...wish the older two would!

Seth's favorite was the grapefruits. So beautiful with the leaves still attached.


I kept slicing them and he kept eating them.  I have no idea how many he ate before I finally cut him off...haha.  It did entertain him well though:)

The eggplant was more difficult for me.  I really had never cooked with it and had no idea what to do with it.  

 
So, I went to my favorite recipe website and looked for recipes.  We ended up making ratatouille...the kids loved the idea of this as they love the movie. Peter and the kids took this project on.  And as always, the kids had a good time helping in the kitchen.  In the end, Peter and I were the ones that really liked it with most of the kids just picking at it.  But, it was fun!  We have also made several recipes of breaded baked eggplant that we dipped in marinara sauce...yum!

All in all, I spent $20 on the produce and have two months (at least) of baby food, two meals of tomato soup, several meals of eggplant, and lots of veggies for salad and sides.  I also shared veggies with several friends and a neighbor too.  Great deal.  I will be frequenting this produce supplier...and learning how to cook with a seasonal harvest:)

Now, to get my kitchen cleaned up and back in shape for the new school week...


Monday, October 24, 2011

Pumpkin Boy

When Wesley was a baby, we used to call him "Wesley Micah Pumpkin Boy Gentala".  How's that for a nick name...haha.  Sometimes, it was just "Wesley Pumpkin Boy" or shortened even more to "Pumpkin"...pronounced more like "punkin" than "pumpkin".  I can't even remember how this nickname started but it was just one of those things that stuck.  Even some of our close friends would call him "Wesley Pumpkin".  Then, when he was about three years old, he was convinced that his name really WAS Pumpkin!  Haha...how cute is that:)  He now refuses to let us call him Pumpkin.  But, every once in a while we do it anyway just out of nostalgia...and to listed to his cute little four year old voice explain that his name really ISN'T Pumpkin:)

I was remembering this Sunday afternoon as we had our "Sabbath Fun". 

We decided to buy six pumpkins to carve and let each one of the kids design their own.  We obviously didn't need to buy one for either of the babies as they would NOT be carving a pumpkin but something made me get them each one anyway.


So, we began this afternoon of fun and mess.  The first thing that I did was put both babies down for a nap...haha.  Then, I had the older four kids draw on a piece of paper the face that they eventually wanted on their pumpkin.  This was really a tough step for some of them as they just wanted to dive in with the chopping:)  But, I thought it would be a great time to practice patience and self-control.  So, they each drew out a face to carve.


Next, we cut open the pumpkins and let them each clean out the insides...reserving the seeds for a cooking project and snack later...yum!
Let the cutting begin!


We cut the bottoms off first (Peter's idea).  This really helped to make the pumpkins more stable and stand up well.  I had always cut the tops off first but then they would roll sideways...unless you picked the perfect flat bottom pumpkin (which is hard to do when you are choosing six pumpkins with six monkeys with you).


It was quite a messy undertaking and even the boys were a little grossed out by the stringy, sticky mess.


Haha.  I love that priceless expression.

This was really NOT Abby's favorite part:)


After cleaning out the pumpkins they could either draw the face on the pumpkin or just try to cut like the picture that they had made.  This was SO much fun!  It just really isn't that often that we let them all have sharp objects and chop away at things.  Ha!


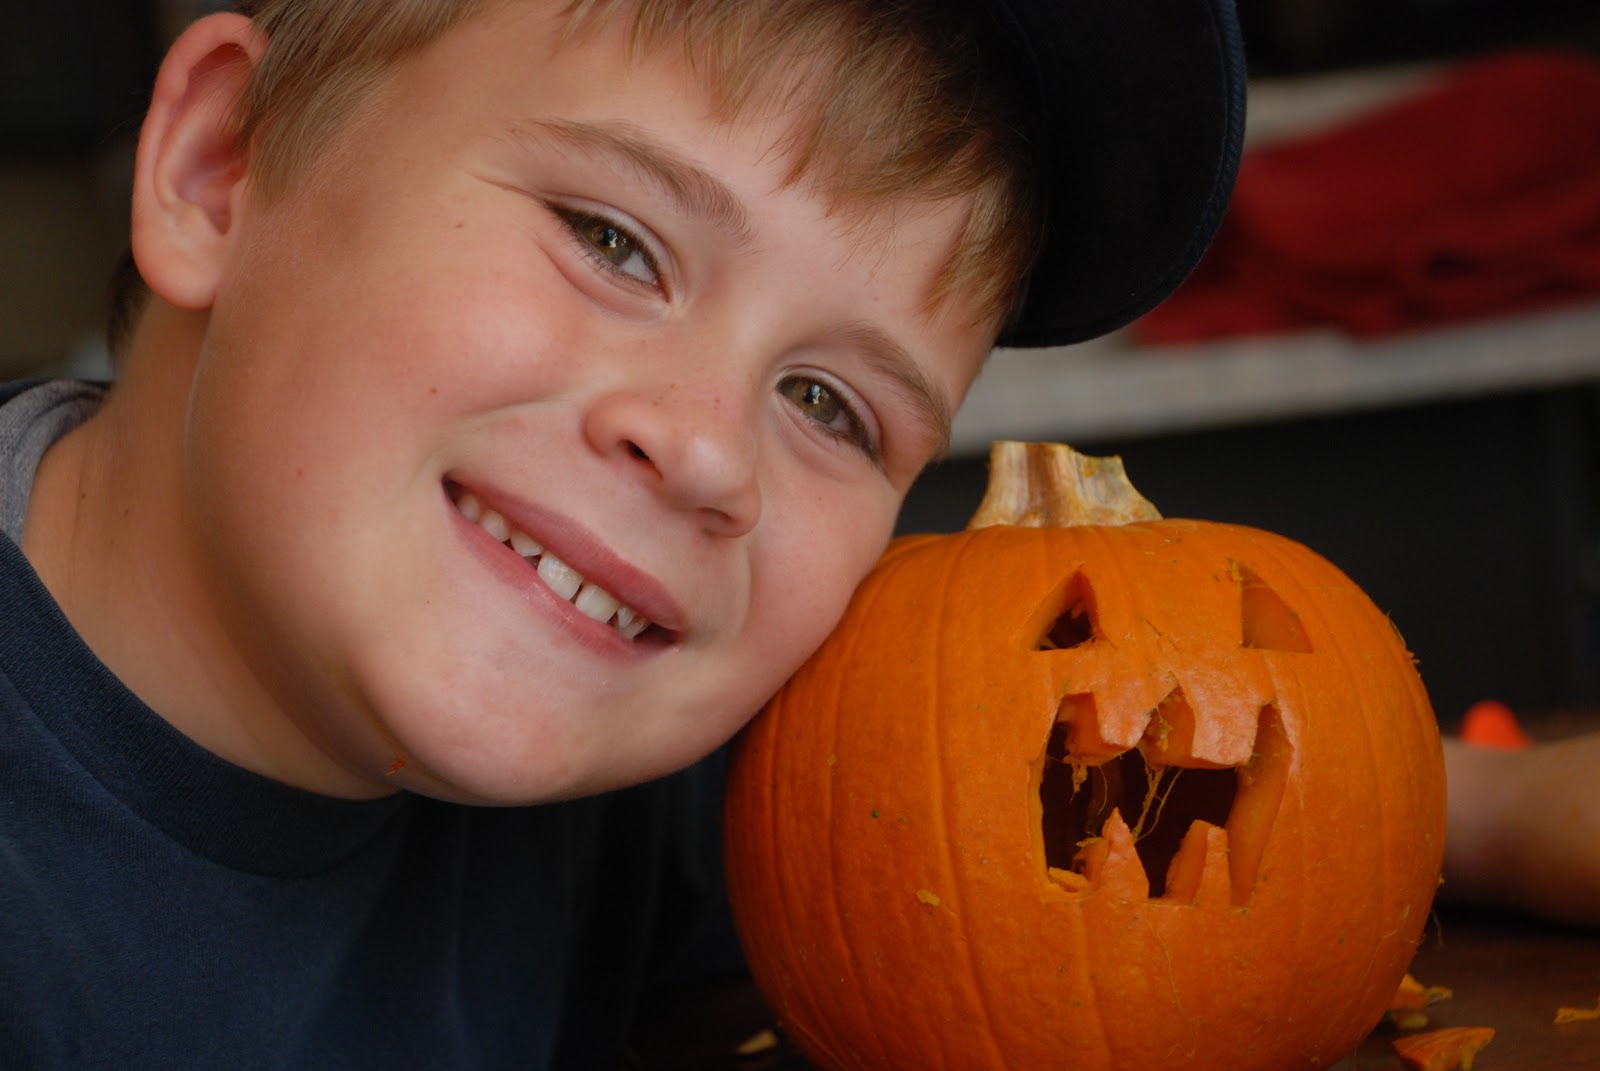
  It's neat to see how each unique personality is exemplified on the face of the little pumpkin that he/she carved.  Here are a few shots of the final pumpkins.


This was a great project that brought some family fun into our Sabbath.

Now to hide the carving instruments so that nothing else gets carved:)

Here are the pumpkins together.  Peter and I will carve the large pumpkin and hopefully get around to carving faces on the two little pumpkins for Seth and Ransom.